- +4527976587
- mail@worldofshortgame.com

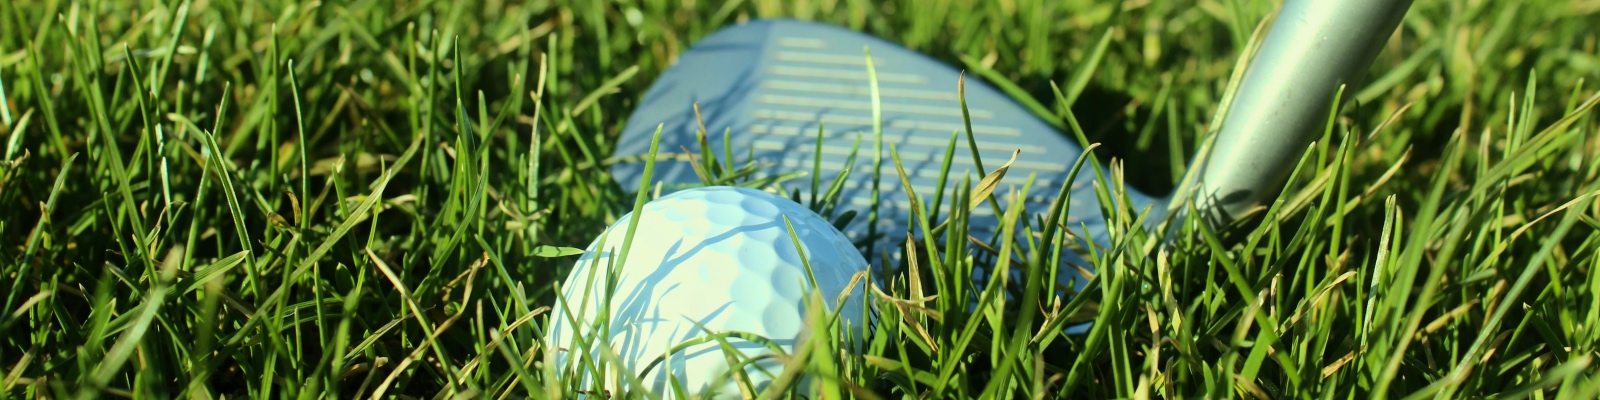
Chipping
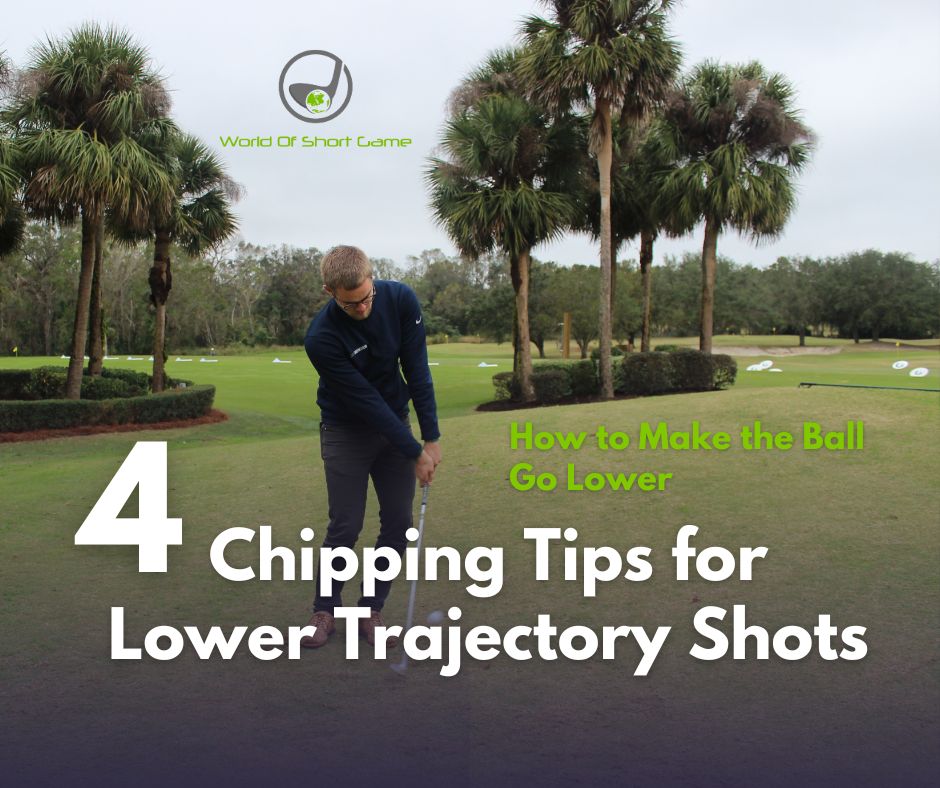
4 Chipping Tips for Lower Trajectory Shots: How to Make the Ball Go Lower
4 Chipping Tips for Lower Trajectory Shots: How to Make the Ball Go Lower
When it comes to chipping, being able to control the height of your shots is key to a successful short game. Sometimes, you’ll need to keep the ball lower to get the right roll or to handle tough course conditions like wind. In this guide, we’ll cover chipping tips for lower trajectory shots, explaining how simple changes in your setup and swing mechanics can help you control the ball’s height effectively.
Setup Adjustments for a Lower Chip Shot
The easiest way to control the trajectory of your chip shots is through your setup. Making small adjustments can significantly lower the height of your shots.
A. Move the Ball Back in Your Stance
To lower the ball’s flight, the first step is to move the ball further back in your stance. By doing this, you’re making the club strike the ball on a more downward path, which reduces the launch angle and sends the ball lower.
- Tip: Experiment with how far back you place the ball, but keep it closer to your back foot than your usual mid-trajectory chip shot position.
B. Hands Forward for Shaft Lean
Another crucial adjustment is to move your hands further forward in your stance. This forward hand position creates more shaft lean, effectively de-lofting the club and lowering the ball’s flight.
- Tip: The more shaft lean you create, the more the loft is reduced, which makes the ball fly lower. However, be cautious—too much shaft lean can cause the club to dig into the ground if not executed properly.
Swing Mechanics for Lower Trajectory
Aside from setup changes, your swing mechanics also play a significant role in controlling the height of your chip shots.
A. Forward Hand Position in the Follow-Through
For a lower shot, ensure that your hands remain ahead of the clubhead throughout the swing, especially at impact and during the follow-through. This further encourages shaft lean and helps lower the ball’s flight.
- Tip: When making this adjustment, visualize your hands finishing further from your body to maintain the correct forward shaft lean throughout the shot.
B. Closing the Clubface in the Backswing
Closing the clubface during the backswing can also help lower the trajectory. By rotating the face slightly closed, you reduce loft, which sends the ball on a lower flight path. Be careful, though, as this can easily lead to shots veering left.
- Tip: To prevent your ball from going left when closing the face, maintain your hands in a forward position during the downswing to keep the direction straight.
Understanding the Challenges of Lower Shots
While these adjustments can help lower the ball flight, they do introduce some additional challenges.
A. Contact Consistency
By adjusting the wrist angles and shaft lean, you’re effectively changing the radius of your swing. This can make consistent contact more difficult, especially if you don’t adjust your body position to match the wrist movement.
- Tip: Practice adjusting your body tilt and height to ensure that you make solid contact with the ball even when your hands are forward and the clubface is closed.
Practice Makes Perfect
Making the ball fly lower requires both a good setup and precise swing mechanics. These changes might feel awkward at first, especially when it comes to maintaining clean contact with the ball. Be patient and practice regularly to develop the feel and control you need for these lower chip shots.
When to Use a Lower Lofted Club Instead
While altering your technique is important, sometimes it’s simply easier to use a lower-lofted club, such as a 9-iron or even a pitching wedge, instead of trying to manipulate the shot with a wedge like a 60-degree. Lower-lofted clubs naturally produce lower flight paths and require less technical adjustment.
By mastering these chipping tips for lower trajectory shots, you’ll gain more control over your short game, especially in situations that demand a low, rolling chip. Whether you adjust your setup or swing mechanics, practicing these techniques will help you hit more consistent, lower chip shots that improve your overall performance on the green.
Happy chipping!
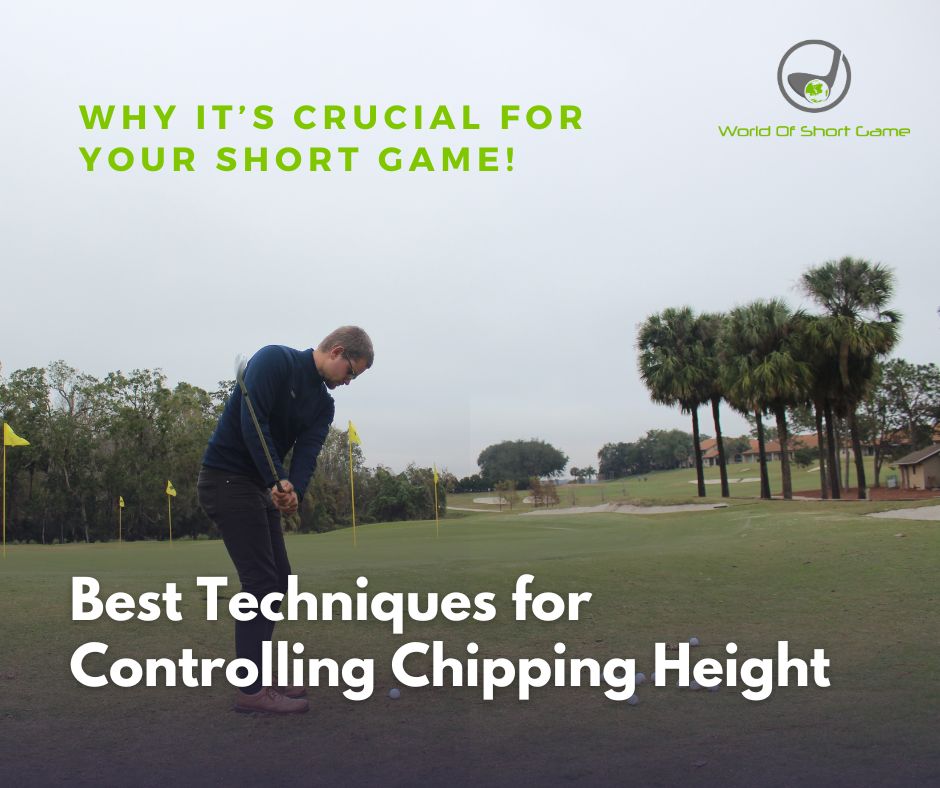
Best Techniques for Controlling Chipping Height
Best Techniques for Controlling Chipping Height
Why It’s Crucial for Your Short Game
One of the most essential aspects of golf is mastering the short game, particularly chipping. Whether you’re hitting a high, soft chip or a low, running chip, controlling the height of your shots is a critical skill that can make the difference between saving par and losing strokes. In this article, we’ll explore why being able to adjust the height of your chips is so important and review the techniques that allow you to do just that.
Club Selection: The Simplest Way to Adjust Height
The first and most straightforward way to control the height of your chip shots is through club selection. Different clubs are designed with different lofts, which directly influence how high the ball flies and how much it rolls after landing:
- Higher-lofted clubs, such as a 60-degree wedge, produce higher trajectories with less roll.
- Lower-lofted clubs, like a 9-iron, create a lower flight path with more roll upon landing.
Why it’s important: This technique is simple, making it the easiest way for most players to manage their chip shot height. Choosing the right club can help you handle a variety of course conditions, whether you need the ball to fly over an obstacle or run along the green.
Setup Adjustments: Subtle Changes for Big Impact
The second factor in controlling chip shot height is your setup. Small changes in how you address the ball can drastically affect the ball’s flight:
- Open the clubface at setup to add loft and produce a higher trajectory.
- Close the clubface to de-loft the club, lowering the shot’s trajectory.
Additionally, ball position in your stance can play a big role in the height of the shot. Moving the ball forward in your stance will raise the ball’s trajectory, while placing it further back will create a lower, running shot.
Why it’s important: Adjusting your setup provides versatility without switching clubs. This allows you to use the same club for various shot heights, which can be handy when you’re on the course and don’t want to constantly switch clubs.
Swing Mechanics: Advanced Control Over Height
The third factor involves swing mechanics. By modifying your swing technique, you can manipulate the ball’s height more precisely:
- Opening the clubface during the backswing can add height.
- De-lofting the club in the downswing can reduce height.
Why it’s important: Learning to manipulate swing mechanics is more advanced, but it offers greater control over ball flight when you don’t have a club that naturally suits the shot you want to hit. For example, you may want to hit a lower shot with a high-lofted wedge to ensure a clean strike in certain conditions.
When You Can’t Simply Change Clubs
While switching clubs is the easiest way to control the height of your chip shots, there are times when it’s not enough:
- If you want to hit a shot higher than what your highest-lofted club allows, setup and swing adjustments are essential.
- Similarly, to develop more well-rounded technique, being able to hit lower shots with higher-lofted wedges is crucial, especially in situations where you can’t easily swap clubs.
Link to Technique Guides:
- For more in-depth tips on how to hit the ball higher, check out [this article on increasing chip shot height].
- If you’re looking to master lower chip shots, read [this guide on hitting lower chip shots].
Why Height Control is Essential to Your Short Game
Being able to control the height of your chip shots isn’t just about technique; it’s about versatility on the course. Here’s why:
- Adapting to course conditions: On windy days, lower shots are more stable. When you need to get over a bunker or a hazard, higher shots are safer.
- Managing roll distance: Height control directly influences how much the ball rolls after landing. Higher shots tend to stop quickly, while lower shots roll more. Being able to adjust your height means you can manage roll better, improving accuracy.
- Increased scoring opportunities: Mastering height control allows you to consistently position the ball closer to the hole, reducing your putts and lowering your scores.
Final Thoughts
Mastering the best techniques for controlling chipping height will give you a significant advantage on the course. By understanding how club selection, setup adjustments, and swing mechanics influence your shots, you’ll be able to confidently handle various course conditions and situations.
Stay tuned for our dedicated articles on:
- How to hit higher chip shots for those tricky situations around the greens – read by clicking here
- How to hit lower chip shots to handle windy days or tricky downhill lies – read by clicking here
With practice and these techniques in your toolkit, you’ll be well on your way to improving your short game and saving strokes. Happy chipping!

Chipping Distance Control Tips: Mastering Roll After the Landing Spot
Chipping Distance Control Tips: Mastering Roll After the Landing Spot
Controlling the distance of a chip shot involves more than just knowing how far the ball will carry. Once the ball lands, understanding how much it will roll is equally crucial. In this guide, we’ll cover key chipping distance control tipsthat focus on how to manage the ball’s roll after it lands. By mastering these tips, you’ll be able to control your chipping distance more effectively and improve your short game.
Understanding the Roll: Key Factors
There are three main factors that influence how much the ball rolls after landing:
- Landing Angle: The angle at which the ball touches down.
- Surface: The type of surface the ball lands on.
- Spin: The amount of backspin on the ball.
These three factors work together to determine how much or how little the ball will roll after it lands. Let’s break them down in more detail.
Factor 1: Landing Angle
The landing angle is one of the biggest contributors to how much the ball will roll. A steeper landing angle (where the ball falls almost straight down) will result in less roll, as the ball loses momentum upon impact. A shallower landing angle (when the ball lands flatter) will cause the ball to roll more because it retains more energy after hitting the ground.
- Steeper Landing Angle: Results in less roll, useful for getting the ball to stop quickly near the hole.
- Flatter Landing Angle: Creates more roll, ideal for when you need the ball to travel a longer distance on the green after landing.
How to Control Landing Angle:
The height of the shot largely determines the landing angle. The higher the shot, the steeper the landing angle, and the less the ball will roll. Here’s how you can influence the landing angle:
- Club Selection: Using a higher lofted club like a 60-degree wedge creates a higher shot with a steeper landing angle.
- Shaft Lean: When you reduce shaft lean (less forward press), the ball launches higher, resulting in a steeper angle.
- Clubface Angle: Opening the clubface also produces a higher shot, adding loft and steepening the landing angle.
Factor 2: The Landing Surface
Where the ball lands can drastically affect how it behaves after the initial impact. Different surfaces—whether it’s the fairway, fringe, or rough—provide varying levels of resistance that impact how the ball rolls.
- Greens: When the ball lands on the green, it tends to roll smoother and more predictably.
- Fringe or Rough: Landing on the fringe or rough slows the ball down significantly due to the thicker grass, which reduces roll.
- Fairway: The ball can roll more freely on shorter grass, allowing for greater roll distance after the initial landing.
How to Choose the Correct Surface:
When selecting a landing spot, always consider the surface. If you want more roll, aim for a landing spot on the green or fairway. If you need the ball to stop quickly, landing on thicker grass like the fringe or rough can help slow it down.
Factor 3: Spin Rate
The amount of backspin you put on the ball can also affect how much it rolls after landing. More spin makes the ball stop quickly or even spin backward, while less spin allows it to roll farther.
How to Control Spin:
For most amateur golfers, controlling spin is quite difficult, but advanced players can manipulate spin by:
- Clubface Control: Opening the clubface adds more backspin, especially on softer shots.
- Clean Contact: The cleaner the contact between the clubface and the ball, the more spin you can generate. This requires precise ball-striking and a clean lie.
- Greenside Conditions: Wet or soft greens tend to increase spin, while hard, dry greens decrease spin.
However, for most golfers, controlling spin should not be the main priority. Instead, focusing on landing angle and surface selection will be more manageable and consistent.
Prioritizing Landing Angle and Surface
While spin is important, it is less reliable for most amateur players. Instead, focus on controlling the landing angle and selecting the right landing surface. These two factors are easier to manage and can have a bigger impact on how the ball rolls after landing.
- For Beginners: Focus primarily on controlling the landing angle. Using a consistent swing length and lofted club can help you get a feel for the landing spot and roll.
- For Advanced Players: You can begin incorporating spin control to fine-tune your distance control on delicate shots where precision is key.
Practical Drills for Distance Control
Here are a few practical drills to help you practice controlling the roll after your ball lands:
Landing Spot Drill
- Place a towel or another target on the green where you want the ball to land.
- Practice hitting chips that land on the towel and see how much the ball rolls afterward with different clubs.
Surface Variation Drill
- Practice landing the ball on different surfaces (fringe, rough, fairway) and observe how it rolls. This will help you understand how different surfaces affect the roll.
Controlled Height Drill
- Experiment with changing the landing angle by adjusting the height of your shots. Use different lofted clubs and see how the height influences the ball’s roll distance.
Final Takeaways: Mastering Chipping Distance Control
Controlling the roll of a chip shot is key to consistent short game success. By mastering the landing angle, considering the surface, and eventually adding in spin control, you can dial in your chipping distance control. Focus on these elements during practice, and you’ll find yourself getting closer to the pin and lowering your scores.
With consistent practice and by following these chipping distance control tips, you’ll build confidence in your short game and make more putts, saving strokes around the green. Happy chipping!
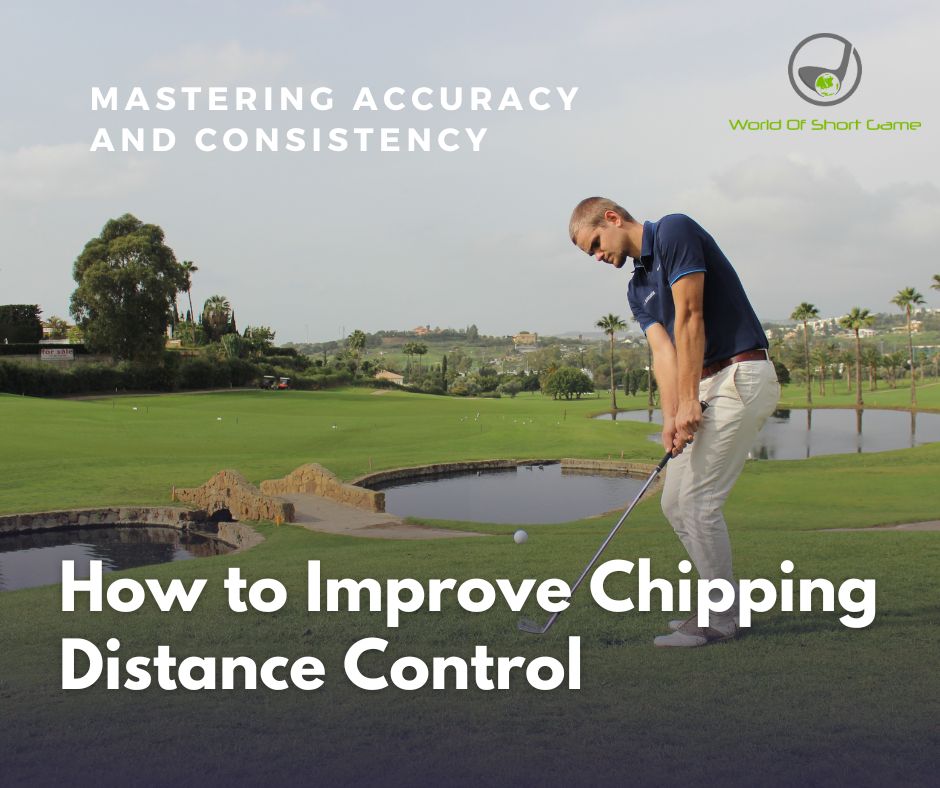
How to Improve Chipping Distance Control: Mastering Accuracy and Consistency
How to Improve Chipping Distance Control: Mastering Accuracy and Consistency
In golf, chipping distance control is essential to mastering your short game. The ability to consistently control how far the ball carries and where it lands after it rolls can dramatically improve your accuracy around the greens. This article will break down how to manage chipping distance control into two key sections: controlling the landing spot and managing the roll distance after the ball hits the ground.
Understanding Distance Control
Distance control in chipping refers to controlling where your ball lands and how far it rolls. It’s divided into two main sections:
- Carry distance: How far the ball travels in the air before it hits the ground.
- Roll distance: How far the ball rolls after hitting the ground.
We’ll start by focusing on controlling the carry distance, which means ensuring the ball consistently lands where you intend. Then, we’ll cover techniques for managing the roll.
Controlling the Landing Spot
The landing spot is the place where your ball first touches the ground. Getting the ball to land on a specific spot consistently is crucial to improving your short game. Here’s how to control it effectively:
A. Launch Angle and Its Effect on Carry Distance
The launch angle is the angle at which the ball leaves the clubface, and it significantly affects the carry distance. Several factors influence this angle:
- Club Selection: The loft of the club you choose impacts the launch angle. For instance, a 60-degree wedge will launch the ball higher than a 9-iron, which launches lower and rolls more.
- Shaft Lean: The angle at which the shaft leans forward or backward also plays a part. More forward shaft lean will lower the launch angle, making the ball travel on a lower trajectory. Less shaft lean produces a higher launch.
- Clubface Angle: Whether you open or close the clubface at setup impacts launch as well. An open clubface will launch the ball higher, while a closed face will create a lower flight.
By understanding and controlling these variables, you can adjust the carry distance of your chip shots.
B. Clubhead Speed and Carry Distance
Another crucial factor is the speed at which the clubhead strikes the ball. Faster clubhead speed results in greater carry distance, while slower speeds shorten it. The key to controlling speed is mastering two elements:
- Swing Length: The length of your backswing and follow-through determines the energy transferred to the ball. A shorter swing means less speed and less carry, while a longer swing adds distance.
- Acceleration: Smooth acceleration is critical. Decelerating or over-accelerating can make distance control challenging. Instead, keep your swing rhythm smooth and consistent to ensure better control over carry distance.
Best Practices for Controlling Carry Distance
To optimize your carry distance, focus on these two principles:
- Use Swing Length to Control Speed: Control the distance by adjusting the swing length rather than trying to manipulate acceleration. This method is easier to repeat and keeps your shots consistent. For example:
- A short backswing and follow-through create a short chip shot.
- A medium backswing and follow-through add more distance.
- A longer swing provides even more carry.
- Maintain Smooth Acceleration: A smooth transition and steady acceleration through the ball ensure clean contact and better distance control. Avoid chopping at the ball or decelerating, as this leads to inconsistent results.
Managing Roll Distance
Once the ball lands, managing how far it rolls is equally important for distance control. Here’s how to manage the roll after the ball touches down:
A. Use Different Clubs to Control Roll
A highly effective method of controlling roll distance is by using different clubs, which automatically alters the ball’s behavior after it lands. For example:
- A pitching wedge may create a 50% air, 50% roll ratio.
- A sand wedge might carry the ball 70% in the air, 30% roll.
- A 9-iron could result in 30% air and 70% roll.
Experiment with different clubs and observe how the ball behaves after landing to perfect your distance control.
B. Adjusting Landing Spot for Roll
Knowing how far the ball will roll after landing is key to choosing your landing spot. If you want the ball to stop quickly, aim to land it closer to the hole with a higher-lofted club. If you need the ball to roll more, choose a lower-lofted club and land the ball further from the hole.
Putting It All Together: Practice and Drills
To improve your chipping distance control, here’s how to practice:
- Landing Spot Drill: Set targets on the practice green for your landing spot and aim to land the ball on those spots. Experiment with different clubs to see how each influences the carry and roll distances.
- Smooth Swing Drill: Focus on maintaining a smooth swing rhythm with equal backswing and follow-through lengths. This helps control both carry and roll distances.
Key Takeaways
- Control Launch Angle and Speed: Understanding how launch angle and clubhead speed affect carry distance is essential.
- Consistent Swing Length: Use swing length as your primary tool to control distance rather than manipulating acceleration.
- Practice Roll Distance: Experiment with different clubs to manage how far the ball rolls after landing.
- Drills for Success: Practice with drills focused on landing spots, consistent swings, and developing a yardage chart to master your chipping distance control.
By implementing these techniques and practicing regularly, you’ll gain confidence in your ability to control the distance of your chip shots, leading to lower scores and a more effective short game.

Chipping Swing Mechanics: Understanding the Geometry of the Motion
Chipping Swing Mechanics: Understanding the Geometry of the Motion
To improve your chipping technique, it’s helpful to understand the underlying geometry of the swing. While golf is a dynamic, three-dimensional motion, visualizing the chipping swing on a two-dimensional plane can simplify the process and make it easier to identify key areas for improvement. Let’s break down the essential concepts of the chipping swing mechanics, focusing on two key ideas: the swing arc and the relationship between the swing’s center (centrum) and radius.
The Swing Arc: Visualizing the Path
The path that the clubhead follows during the chipping motion can be represented by a circle, often called the swing arc. While the swing arc is not a perfect circle, visualizing it as such helps simplify the understanding of how the clubhead moves during the swing.
In a face-on view, the arc starts in the backswing, descends through the downswing, and rises again in the follow-through. The key is understanding that the clubhead travels in this arc during every chip shot. The lowest point of this arc is critical for making clean contact with the ball.
- Swing Arc Tip: The goal in a good chip shot is to strike the ball just before the clubhead reaches the lowest point of the swing arc, so the club continues to travel slightly downward, allowing you to hit the ball first and then the turf, creating a clean shot.
The Center of the Swing (Centrum)
The centrum refers to the point around which the swing arc rotates. In the context of the chipping motion, this is often the lead shoulder (the left shoulder for right-handed players). As the body rotates during the swing, the centrum moves along with it.
If the centrum (lead shoulder) doesn’t return to its original position at the moment of impact, it can cause poor contact with the ball. The movement of the centrum has a direct impact on the clubhead’s path, and by extension, how and where the club strikes the ground.
- Centrum Movement Tip: If the centrum moves upward, the swing arc shifts upward as well, leading to contact with the top of the ball or missing the ball entirely, resulting in a “thin” shot. If the centrum moves backward (away from the target), the lowest point of the swing arc shifts behind the ball, likely causing a “chunk” where the club strikes the ground before the ball.
The Radius of the Swing
The radius of the swing refers to the distance between the lead shoulder (centrum) and the clubhead. This length can change depending on the player’s arm and wrist mechanics during the swing.
A consistent radius is essential for making clean contact. If the radius becomes longer or shorter at impact, it can cause you to hit either behind the ball (chunk) or miss the ball entirely (thin).
- Radius Tip: If the radius lengthens during the swing (e.g., if the arms extend too much), the clubhead reaches the ground too early, causing a chunk. Conversely, if the radius shortens (e.g., if the arms collapse or wrists hinge excessively), the clubhead may not reach the ball at all, leading to a thin shot.
How Centrum and Radius Work Together
The interplay between the centrum and radius is what ultimately determines the quality of your contact. For a successful chip shot, the centrum must return to its correct position at impact, and the radius must remain consistent throughout the swing.
- Matching Centrum and Radius Tip: If you find that you’re chunking the ball (hitting behind it), try to return your centrum (lead shoulder) to its original position while maintaining the correct radius (arm length and wrist hinge). If you’re thinning the ball, focus on ensuring that the centrum doesn’t lift too much during the downswing, and that your arms aren’t shortening the radius too early.
Practical Application: Using Geometry to Improve Your Chipping
Now that you understand the basic geometry of the chipping motion, it’s time to apply it to your practice sessions:
- Video Feedback: Set up two cameras (one for the face-on view and one for the down-the-line view) to record your chipping motion. This will help you visually assess the swing arc and check if the centrum and radius are consistent.
- Checkpoint Drills: Use visual aids, such as alignment sticks, to ensure your swing arc remains consistent and that your body rotation returns the centrum to its original position.
- Experiment with Centrum and Radius: Try hitting a few shots while intentionally altering the position of your centrum or the length of your radius. This will give you a better understanding of how these factors impact your contact and help you make the necessary adjustments.
Key Takeaways
- Swing Arc: Represents the path the clubhead follows during the swing. The lowest point of the arc should occur just after contact with the ball.
- Centrum: The lead shoulder acts as the center of the swing. Its movement affects the position of the swing arc and can lead to poor contact if not properly controlled.
- Radius: The distance from the lead shoulder to the clubhead. A consistent radius ensures solid contact with the ball.
- Balance and Coordination: Maintaining the correct relationship between the centrum and radius is essential for successful chipping.
By understanding the geometry of the chipping swing and how the swing arc, centrum, and radius work together, you’ll be better equipped to make clean contact with the ball more consistently, leading to improved accuracy and control around the greens. Happy practicing!
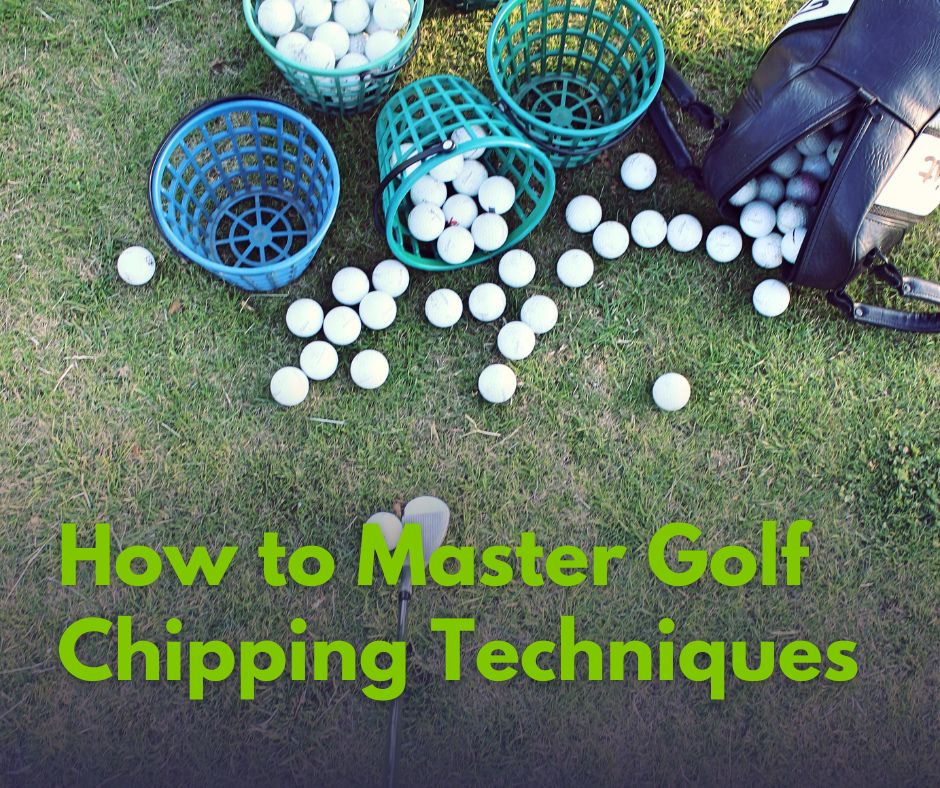
How to Master Golf Chipping Techniques: A Step-by-Step Guide
How to Master Golf Chipping Techniques: A Step-by-Step Guide
Chipping is one of the most important skills in golf, allowing you to control the ball’s flight, spin, and roll as it approaches the hole. Mastering the right chipping technique gives you a greater margin for error, making it easier to save strokes on the course. Here’s how to work on your chipping technique effectively, focusing on a mid-trajectory, basic chip shot.
The Mid-Trajectory Basic Chip Shot
The chipping technique discussed here focuses on a mid-trajectory chip shot. This technique is versatile and provides a good foundation for most situations around the green. Remember, once you start varying the height of your shot, some of these key points may change.
Why Focus on This Technique?
The primary goal of this method is to provide a greater margin for error. Many golfers use techniques that require perfect execution every time. With this approach, you don’t have to be absolutely precise with your contact to achieve a solid shot. This added forgiveness in your chipping allows for better results, even on less-than-perfect strikes.
Practice the Checkpoints
To master the chipping technique, you need to practice it regularly and check your form against specific checkpoints. Here’s how to get started:
- Head to the Practice Area: Go outside to a practice green or chipping area to hit a few shots.
- Test the Key Points: As you practice, run through the fundamental checkpoints of a solid chipping technique, such as stance, ball position, and weight distribution.
- Self-Assessment: Pay attention to how your shots feel and observe their flight and roll. This will help you identify any areas that need improvement.
Getting Feedback When Practicing Alone
One of the challenges of practicing golf on your own is getting proper feedback. Here are a few methods to help you evaluate your technique:
A. Use a Smartphone for Video Analysis
Recording your chipping motion with your smartphone is a great way to self-assess and refine your technique. Follow these steps:
- Set Up the Camera: Position your phone to record your chipping from a side angle. This perspective allows you to see your body posture, swing path, and club position.
- Compare to Reference Points: Use the recorded videos to compare your movement with the ideal chipping positions. For example, check if your weight is forward, the clubface is slightly open, and if the swing path matches the mid-trajectory shot you’re practicing.
- Adjust Accordingly: Identify areas where your technique deviates from the desired positions. Make incremental adjustments during your practice sessions until you develop a more consistent motion.
B. Use Visual Aids
If you have access to a guide or image references (such as those provided by an instructor or a golf instruction manual), use these to assess your form. Position still images from a guide next to your recorded video to help you identify discrepancies in your posture, clubface angle, and follow-through.
Perfecting Your Technique
Practicing the chipping technique regularly and making small adjustments based on feedback is key to improvement. Here are some drills and tips to further refine your skills:
- Start with Basic Shots: Focus on the mid-trajectory chip shots first before attempting advanced variations like high or low shots. This will help you build a solid foundation.
- Experiment with Ball Position: While this technique emphasizes a specific setup, don’t be afraid to experiment with slight changes to see what works best for you. Adjusting the ball position can influence trajectory and roll.
- Gradual Improvements: Work on one checkpoint at a time. Trying to correct everything at once can be overwhelming and lead to frustration.
Final Thoughts: Embrace the Process
Mastering golf chipping techniques takes time, practice, and patience. The beauty of the mid-trajectory technique is that it provides a forgiving structure, giving you room for minor mistakes. As you continue to practice and get more comfortable with this technique, you’ll start noticing improved consistency in your chip shots.
Key Takeaways for Mastering Golf Chipping Techniques
- Focus on the Mid-Trajectory Shot: Begin by mastering this versatile and forgiving chipping technique before exploring advanced shots.
- Practice Checkpoints: Test your form and make adjustments based on how your shots feel and behave.
- Use Video for Feedback: Record your practice sessions to compare with reference images and refine your technique.
- Make Incremental Improvements: Concentrate on one aspect at a time to avoid becoming overwhelmed.
- Build Confidence: With consistent practice, this technique will give you a greater margin for error, resulting in better performance on the course.
By diligently working on your chipping technique using these tips, you’ll soon gain confidence around the greens and improve your overall short game. Happy practicing!

Chipping Downswing Tips: Achieving a Smooth and Controlled Follow-Through
Chipping Downswing Tips: Achieving a Smooth and Controlled Follow-Through
Mastering the downswing and follow-through is crucial for consistent and accurate chip shots. While the setup and backswing set the stage, the downswing determines the shot’s trajectory, spin, and control. In this guide, we break down key chipping downswing tips to help you improve your short game.
Head Movement in the Downswing
A common misconception is that you should keep your head down throughout the swing. However, for an effective chip shot downswing, it’s essential that your head rises as you move through impact. This upward movement results from the body rotating and extending through the swing.
- Tip: Allow your head to move up and slightly forward as you transition into the downswing. This motion helps maintain structure in the left arm, preventing it from collapsing early. If your head stays too low, the left arm tends to buckle, compromising the shot’s consistency.
Back Heel Lift for Proper Weight Transfer
As you swing through, your back heel should naturally lift off the ground. This slight heel lift is a result of proper body rotation and weight transfer toward the front foot. If your heel remains firmly planted, it likely indicates that you’re not rotating your body enough, which can lead to poor contact.
- Tip: Check your heel position after hitting a chip shot. If it’s slightly lifted, you’re on the right track. This movement helps ensure weight transfer and promotes a smooth, controlled follow-through.
Clubface Rotation During the Downswing
The way the clubface rotates through the downswing directly affects shot direction, height, and spin. Ideally, the clubface should remain slightly open (pointing outward) through the follow-through, which allows for better use of the club’s bounce and prevents digging into the ground.
- Avoid Closing the Clubface: A closed clubface points down toward the ground, which can lead to low, left shots and make it harder to utilize the bounce. This can cause the club to dig into the turf, resulting in poor contact.
- Tip: Focus on keeping the clubface open during the swing. Avoid closing it too much, which restricts the club’s bounce and can lead to inconsistent results.
Releasing the Club
Whether or not to release the club in the downswing depends on the shot trajectory you’re aiming for and your preferred wrist action. The “release” refers to allowing the club’s angle to change as it approaches impact. If you prefer using your wrists in the backswing, you naturally create some space for a slight release during the downswing.
- Body-Only Swing: If you prefer moving the club primarily with body rotation and minimal wrist action, you will not have much of a release in the downswing. This lack of release can hinder your ability to control the shot effectively.
- Wrist Hinge: Conversely, if you incorporate some wrist hinge in the backswing, you can release the club slightly in the downswing, supported by body rotation. This method tends to produce a mid-trajectory chip shot.
- Tip: Experiment with wrist movement in the backswing to see how it affects your ability to release the club in the downswing. Finding the right balance will allow for smoother contact and better shot control.
Grip Pressure for a Smooth Downswing
Your grip pressure plays a significant role in the quality of your chip shots. Holding the club too tightly can lead to a rigid swing and poor control. A lighter grip encourages a smoother motion, promoting a more natural swing path.
- Experiment: Hit three different shots with varying grip pressures:
- Hold the club very tightly and hit a shot.
- Hold the club extremely lightly, almost letting go.
- Find a middle ground that feels comfortable and controlled.
- Tip: While grip pressure is a personal preference, the general rule is to avoid squeezing the club too tightly. A lighter grip usually allows for a smoother release and better control during the downswing.
Hands Moving Upward in the Downswing
A critical aspect of the downswing is the upward movement of your hands as they approach impact. Many golfers struggle with chipping because they push their hands downward during the downswing, causing the clubhead to dig into the ground. In contrast, skilled players move their hands upward before contact, creating a smoother interaction with the turf.
- Drill: Place the clubhead behind the ball and drag it along the ground slightly, feeling your hands naturally move upward. Practice this motion to get a sense of how your hands should move during the downswing.
- Tip: A helpful exercise is to purposely try to push your hands downward and observe the shot’s outcome. Then, switch to moving your hands upward and compare the results. The correct upward hand motion, combined with body rotation and extension, provides a greater margin for error.
Single-Arm Drill for Improved Follow-Through
Hitting chip shots with only your lead arm (left arm for right-handed players) can help you feel the correct body movement and hand position during the downswing and follow-through. This drill reinforces proper extension and prevents the arm from collapsing.
- Common Mistake: Many players struggle with this drill at first, often letting their left arm collapse without using body rotation. However, with practice, your body will naturally learn to turn and extend through the shot, making the hands move upward as they should.
- Tip: Keep your trailing arm (right arm for right-handed players) resting on your side during this drill for stability. Focus on maintaining connection with your body and moving the club with the left arm and body rotation.
Key Takeaways for a Consistent Downswing and Follow-Through
- Head Movement: Allow your head to rise during the downswing to maintain arm structure.
- Back Heel Lift: Ensure your back heel lifts off the ground for proper weight transfer and rotation.
- Clubface: Keep the clubface slightly open during the downswing to utilize the club’s bounce effectively.
- Release: Determine your wrist action preference and adjust the release accordingly.
- Grip Pressure: Use a lighter grip for a smoother, controlled swing.
- Hands Upward: Practice moving your hands upward in the downswing to avoid digging the club into the ground.
- Single-Arm Drill: Practice with your lead arm only to learn proper follow-through motion.
By applying these “chipping downswing tips,” you’ll develop a more consistent and reliable short game, leading to better chip shots and improved performance around the greens. Happy chipping!
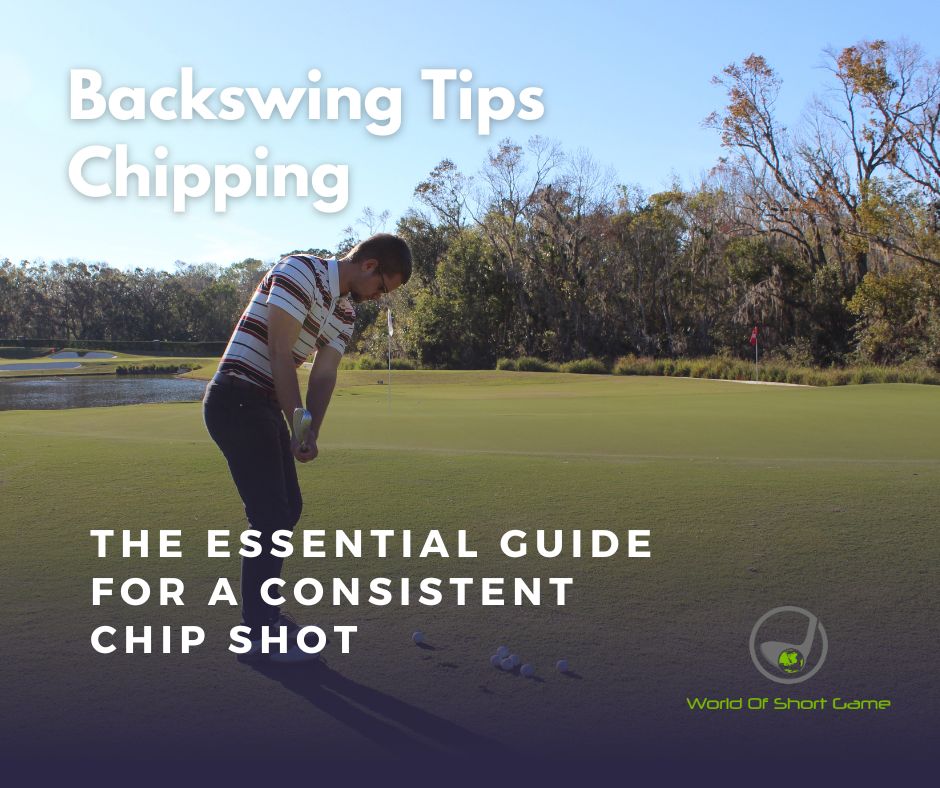
Chipping Backswing Tips: The Essential Guide for a Consistent Chip Shot
Chipping Backswing Tips: The Essential Guide for a Consistent Chip Shot
A solid chipping technique can make all the difference in your short game. While many golfers focus on the setup and follow-through, the backswing in chipping is equally crucial. Getting it right will give you better control over the trajectory and distance of your chip shots. In this article, we’ll break down key chipping backswing tips that will help you execute more consistent and effective chip shots.
What Moves the Club in the Backswing?
One of the most debated aspects of the chipping backswing is the use of the wrists. Some golfers advocate for a rigid, wrist-free backswing, while others prefer a slight wrist hinge. So, what’s the correct method?
The truth is, it’s a matter of personal preference. The most important thing is to find a technique that you can control effectively. Some players feel more comfortable and find more control using a combination of body rotation with a slight wrist hinge.
Tip: Experiment with both styles to see which works best for you:
- Try a few practice shots with a completely stiff wrist.
- Then, hit some shots allowing for a gentle wrist hinge in the backswing.
Assess which style gives you more consistent results and feels more natural. Remember, the goal is to create a smooth, repeatable motion that you can rely on under pressure.
Swing Plane: The Correct Path for Your Clubhead
The swing plane plays a vital role in the success of your chip shot. Ideally, the clubhead should travel along the same line as the shaft plane during the backswing and into the downswing. This path helps maintain control over the club and ensures proper contact with the ball.
When practicing, pay attention to these common errors:
- Underplane: When the clubhead moves under the plane (inside), it can cause you to hit the ground too early, leading to fat shots. Correcting this usually involves swinging the club slightly more on the plane.
- Overplane: If the clubhead moves outside the plane, it can result in difficulties with both distance and height control. However, it’s generally better to be slightly outside the plane than inside it.
Tip: Visualize the swing plane line extending from your shaft and try to keep the clubhead traveling along this line during the backswing. This adjustment promotes a mid-trajectory chip shot, which is typically more controlled and reliable.
The Clubface Angle During the Backswing
Another key aspect to consider is the clubface’s angle as you move into your backswing. When the club’s shaft is parallel to the ground in the backswing, the leading edge of the club should be close to vertical, though not perfectly so.
- Neutral Position: The slightly open clubface allows the ball to have a more predictable flight and spin. This setup is perfect for a mid-trajectory chip shot, which is ideal for most situations.
- Closed Clubface: A closed clubface points downwards and typically produces a lower, more aggressive shot. While this might be useful for some scenarios, it can limit your control over distance and trajectory.
- Open Clubface: Conversely, an overly open clubface points upwards, causing a higher lofted shot. This can be helpful for getting over obstacles, but it may not be as reliable for a standard chip shot.
Tip: For the best results with a mid-trajectory chip shot, aim to have the leading edge of the club face close to vertical when the shaft is parallel to the ground. This position allows for a clean strike, maximizing control over the shot’s height and distance.
Head Movement During the Backswing
One of the subtler yet crucial aspects of a chipping backswing is the movement of your head. Many top players have a slight forward and downward motion of the head during the backswing. This motion is subtle, just a few centimeters, but it plays a significant role in maintaining a steady position and preparing for a consistent downswing.
- Why Forward and Downward? This movement helps create a stable base, ensuring that your low point (where the club meets the ground) remains consistent. As a result, it makes it easier to control the strike and trajectory of your chip shot.
- What to Avoid: Excessive head movement can lead to mis-hits, so keep it minimal. Think of it as a small, natural adjustment rather than a forced action.
Tip: When practicing, focus on allowing a slight forward and downward motion of the head during the backswing. This movement should be subtle and feel natural, setting you up for a smooth downswing.
Putting It All Together: Your Chipping Backswing Routine
To summarize these chipping backswing tips:
- Find Your Preferred Wrist Use: Test both wrist-free and wrist-hinged backswing styles to see which one gives you more control and consistency.
- Stay on the Swing Plane: Ensure that the clubhead travels along the correct swing plane line during the backswing to prevent fat or thin shots.
- Check the Clubface Angle: Aim to keep the leading edge close to vertical when the shaft is parallel to the ground for a mid-trajectory chip.
- Subtle Head Movement: Allow a slight forward and downward motion of the head during the backswing to maintain a steady position.
Final Thoughts
Mastering the chipping backswing is about finding a technique that suits your style while maintaining some key fundamentals. By experimenting with wrist action, focusing on the swing plane, adjusting the clubface angle, and incorporating slight head movement, you can develop a consistent chipping motion that improves your short game.
Next time you’re on the practice green, try incorporating these “chipping backswing tips” into your routine. Remember that practice and experimentation are key to finding what works best for you. With time and dedication, you’ll build a reliable chipping technique that you can rely on for various situations on the course. Happy chipping!